
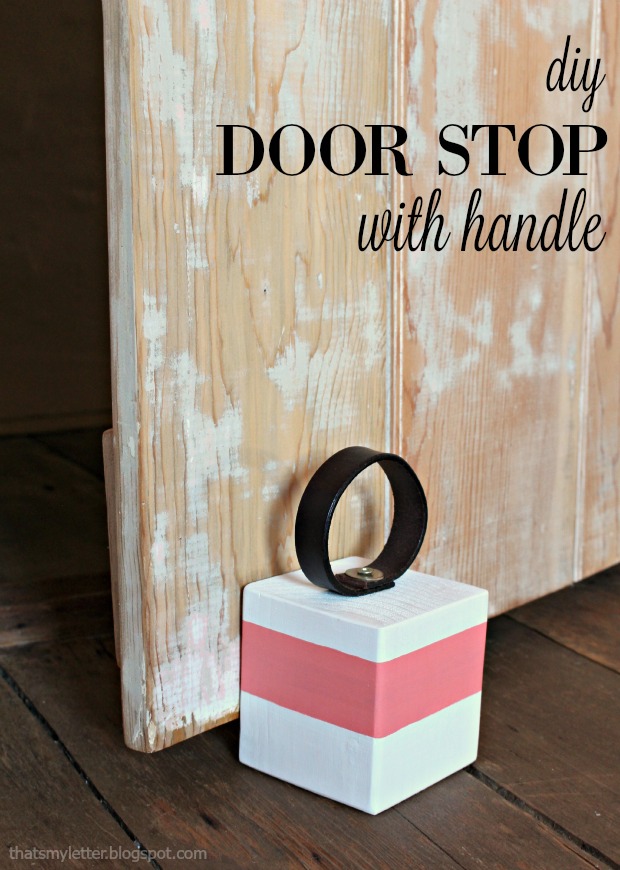
Hi Pretty Handy Readers! Jaime here from That’s My Letter sharing a quick and easy scrap wood project. Today I’ll show you the step by step tutorial for how to make a DIY Door Stop with a Leather Handle.
They say necessity is the mother of invention and this is clearly a case in point. My girls’ bedroom door wouldn’t stay completely open on its own. You might have a similar door in your home that you want to stay wide open except gravity keeps pulling it closed? In our house nothing is level so naturally the door wants to close and we needed a door stop that was easy for my girls to use.

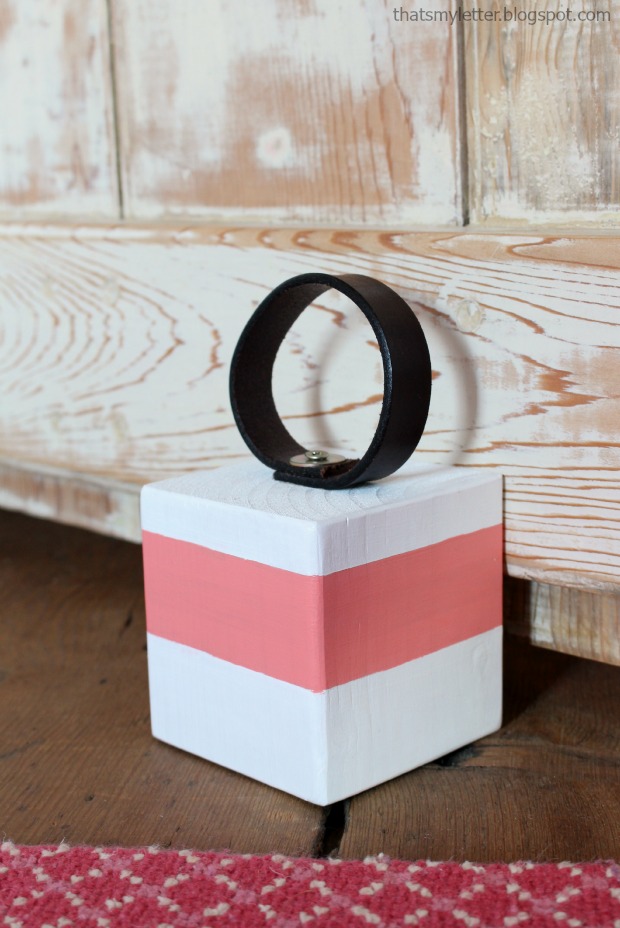
I used a piece of scrap 4×4 wood and made a simple leather loop handle so now my girls can easily move the door stop when they want to shut the door. (Please note our door is solid wood and moderately heavy but if you have a very heavy door you might want a larger piece of wood.)

In addition to using the door stop to keep the door wide open, my girls also use it to keep the door slightly ajar at night.
Supplies:
- 1 – 4×4 scrap wood @ 3 1/2″
- 1 – leather belt scrap 1/2″ w x 9″ l
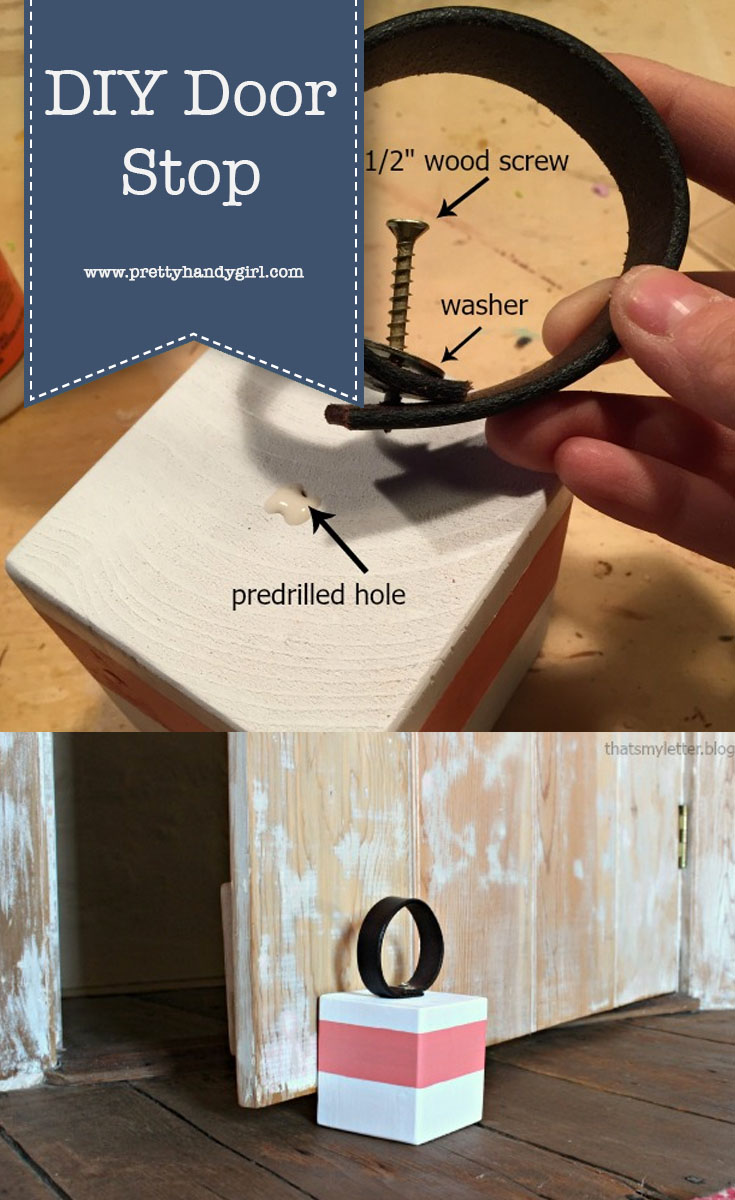
- 1 1/2″ wood screw
- washer
- drill & drill bits
- glue
- sandpaper
- paint
Instructions:
Step 1:Cut the 4×4 scrap wood at 3 1/2″ (or longer if you have a heavy door). Sand edges smooth.

Step 2:Paint as desired. I used painters tape to mask off a portion to make the pink stripe.

Step 3:Cut leather belt at 9″ l x 1/2″ w and pre-drill a small hole in both ends.

Step 4:Pre-drill a hole at the center of the wood block. Apply wood glue then overlap cut ends of the leather handle. Insert washer and screw.

Step 5:Insert the screw into the wood using your drill.

Now you have a handy little leather handle to move the door stop.

Hope you enjoyed this simple project.
Pin this project idea to make as a gift or something for your own home.

~ See More of Jaime’s Tutorials ~
Pin for later!
[…] Check out the photos and instructions here. […]
[…] Check out the photos and instructions here. […]
[…] Check out the photos and instructions here. […]
[…] Check out the photos and instructions here. […]
[…] Check out the photos and instructions here. […]
[…] Check out the photos and instructions here. […]
[…] Check out the photos and instructions here. […]
[…] Check out the photos and instructions here. […]
[…] Check out the photos and instructions here. […]
[…] Check out the photos and instructions here. […]