
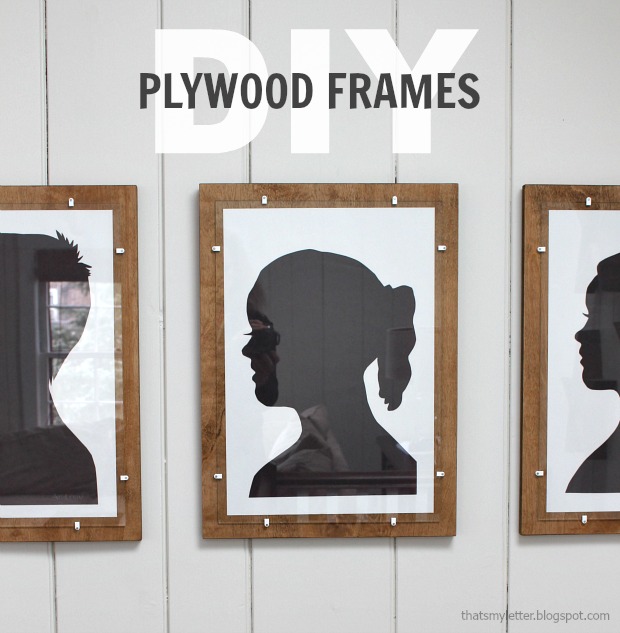
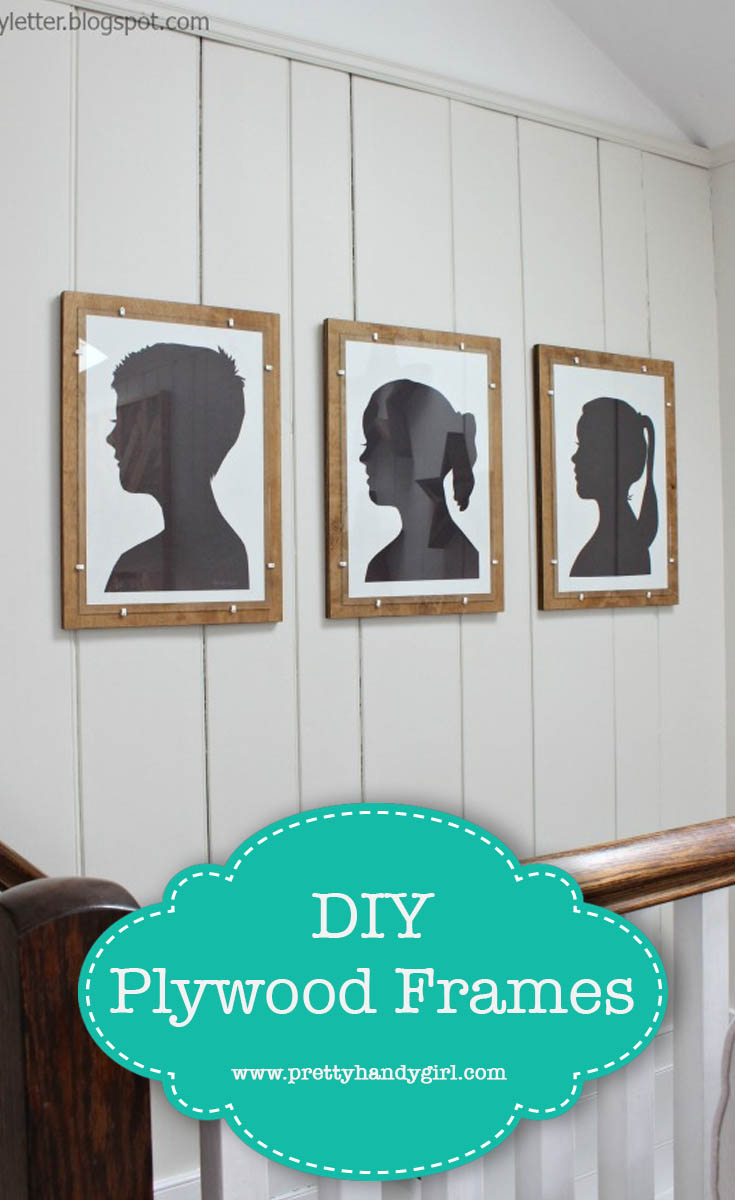
They say necessity is the motherhood of invention. Today’s project post on DIY Plywood Frames with Glassfits well with that saying. Jaime at That’s My Letter here sharing how I took scrap plywood and made it into frames for my kids’ silhouettes. Custom framing is not cheap and sometimes you have odd-sized pictures or artwork that just won’t work in a typical store bought frame. This DIY plywood frame is a great solution for those situations.
There are tons of DIY wood frame ideas out there, but the difficulty lies in actually getting glass into the frame especially if you don’t have a router. (To be honest I do have a router, but hate using it!) The solution to this problem is to place the glass on the surface and to do that I had to find clips to hold the glass in place. My first thought was mirror clips but they are rather large and deep, typical framing glass is 1/8″ thick and the mirror clips are meant to hold mirrors which are slightly thicker.

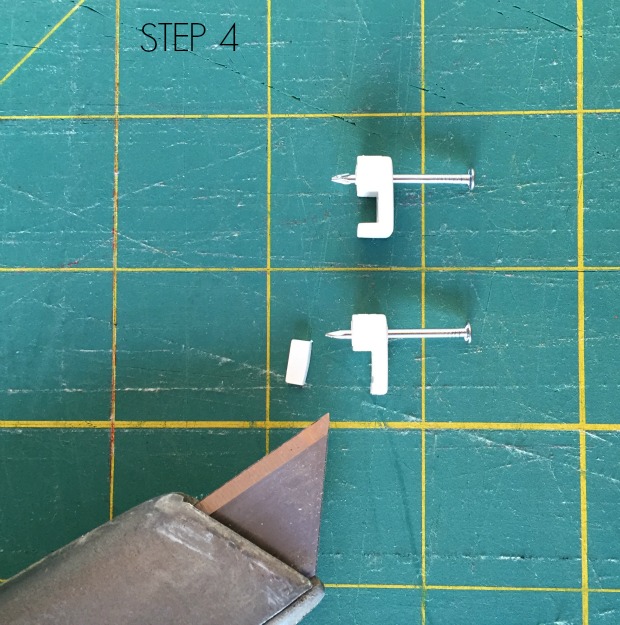
So after much perusing of the electrical aisle I decided to try low volt staples. They aren’t clear like mirror clips but they are smaller and have the proper depth for frame glass. The only issue is the small lip edge that’s meant to hold electrical wires in place:

No problem. The low volt staples are plastic and I was able to easily slice off the lip edge with my utility knife! I think they come in black too if you don’t like white. You could spray paint them any fun color to highlight your artwork being framed.

I ordered the glass in the size I needed (I paid $18 for all 3 pieces) and had the scrap plywood on hand. The low volt staples are $2 for 25 staples, so this entire project cost me just about $20. The joy on my kids’ faces when seeing their Kindergarten silhouettes hung was priceless. Below are step-by-step instructions to make plywood frames with glass.
Materials:
- 3/4″ plywood (cut 1 1/2″ larger than artwork on all sides)
- 1/8″ clear glass (cut 1/2″ larger than artwork on all sides)
- 3/16″ low volt plastic staples
- wood stain
- 3/4″ wood screws
- picture hanging wire
- utility knife
- double stick tape
- measuring tape & pencil
- drill
- 1/8″ drill bit
- hammer
Instructions:
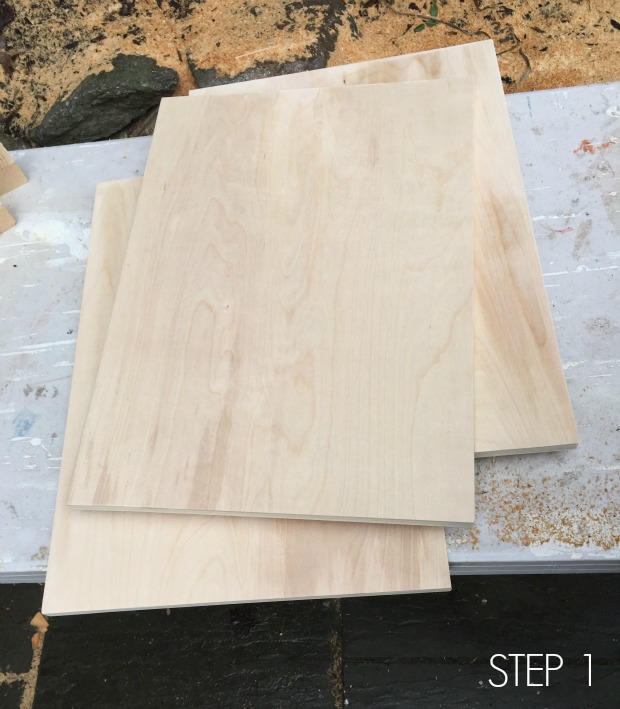
Step 1: Cut 3/4″ plywood to size. Add 1 1/2″ on all sides of artwork to create frame similar to my version above. Sand edges smooth.
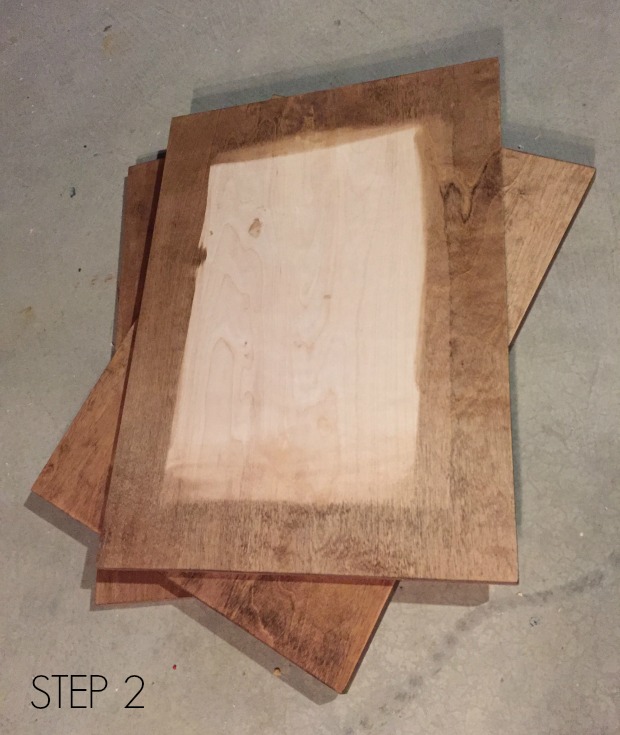
Step 2: Stain frame. (I used Minwax Early American.) Let dry thoroughly.
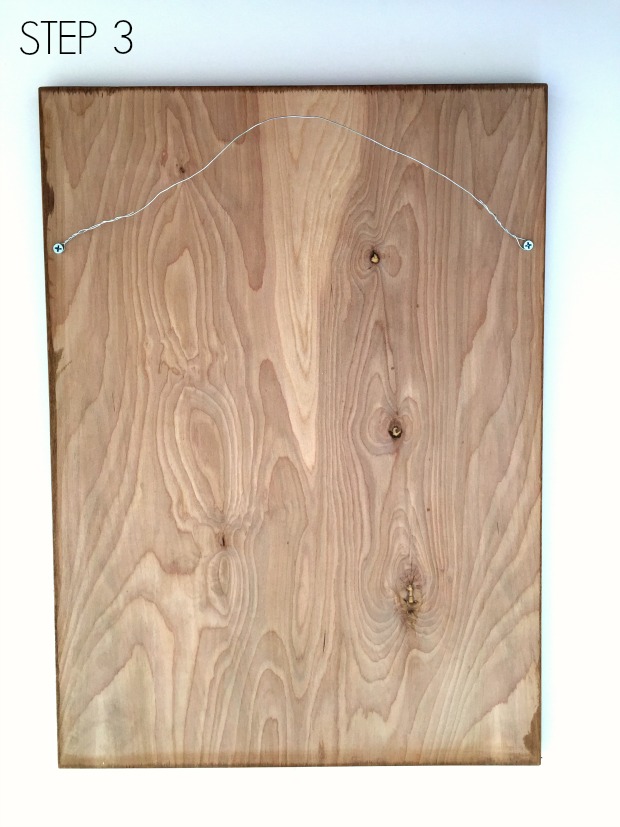
Step 3: Prepare back hanger. I used 3/4″ wood screws into sides of plywood then wrapped picture hanging wire around each screw.
Step 4: Prepare low volt staples by slicing off the ‘lip’ edge to make space for the glass to fit.
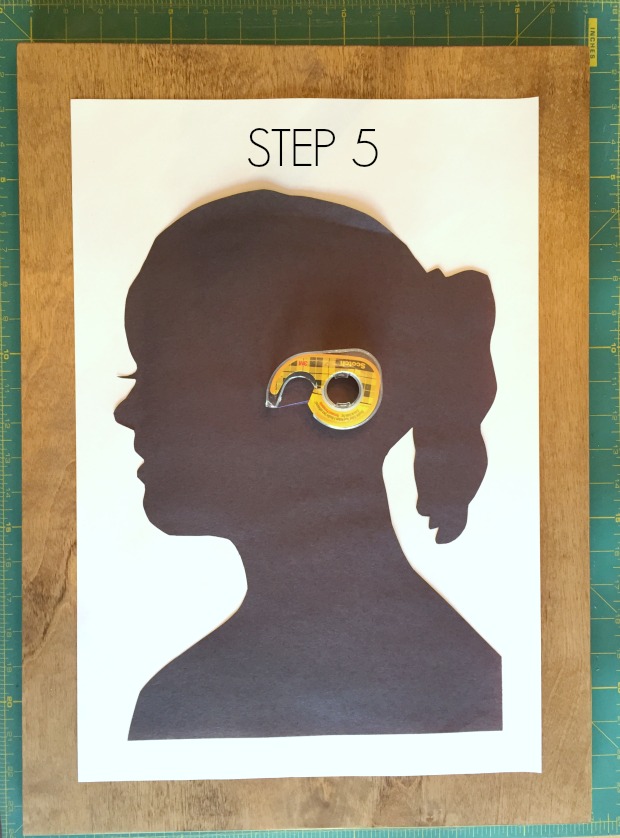
Step 5: Center artwork on plywood and use double stick tape to keep it in position and avoid any slipping.
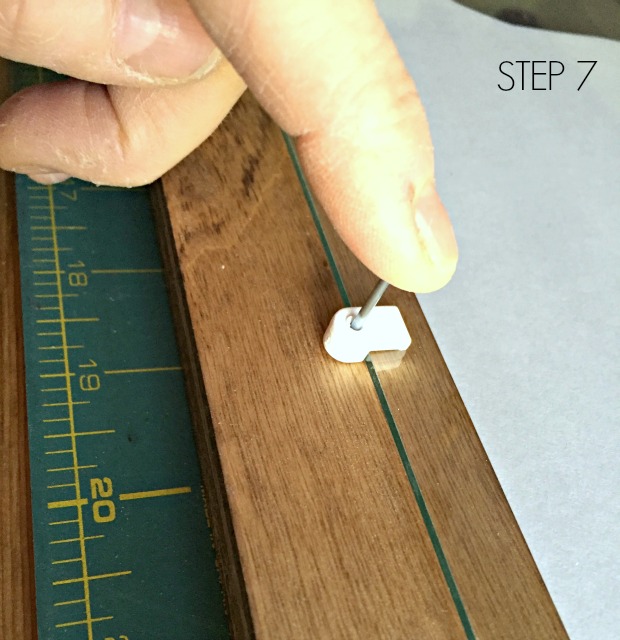
Step 6: Center glass on plywood and mark 4″ from each corner for staple placement.

Step 7: Place staple at pencil mark and press to make an indent.
Step 8: Pre-drill holes using 1/8″ bit at the mark made from the staple nail. Go about 1/2″ down into plywood.
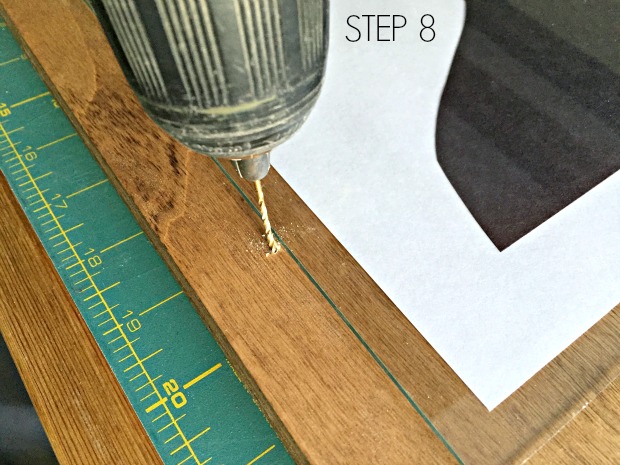
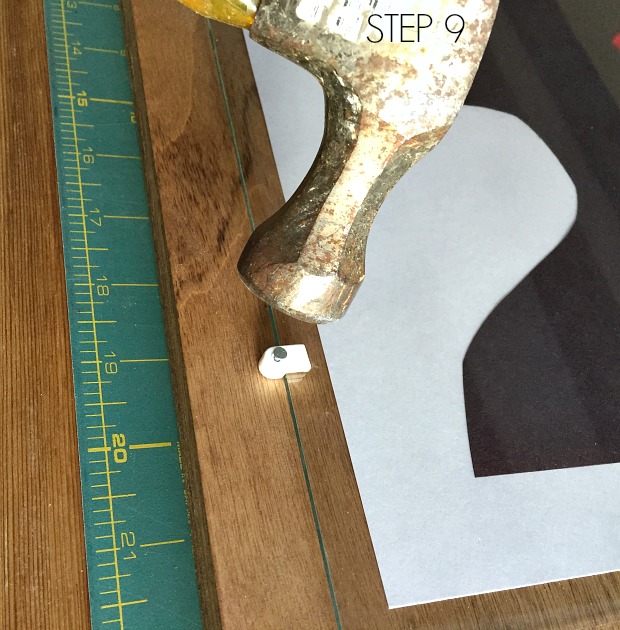
Step 9: Insert staple and nail into hole and press with thumb. Use a hammer to secure nail in place.
Hang as you like!

It took me 3 years to finally frame and hang my kids’ silhouettes, but I’m so glad to have finally figured out an easy and inexpensive solution. I’m ready to make more plywood frames. Hope you enjoyed this tutorial and make some frames for your family.
 ~
See More of Jaime’s Projects
~
~
See More of Jaime’s Projects
~
Pin for later!
OMG, I love these. You did a fabulous, creative job. Now I have a question, can you please, please, please tell me how you did the outstanding silkhouettes?
LOVE THIS IDEA, except for one thing: It’s best not to frame an artwork with the art directly up against, i.e., touching, the glass. The art needs to breathe to stay healthy — less chance for mold, mildew or other things that cause deterioration. Therefore, probably best to use larger clips, like mirror clips, that can accommodate the extra width needed for a mat board hat will separate the art from the glass. I’m going to give this idea a try with some art pieces I’m currently working on that use old textiles that need to be protected by glass yet still breathe. I was looking for a way to frame them, and I found your idea which I believe will do it brilliantly! So many thanks! — Diana
[…] excited to share this simple plywood frame solution with you today! I’m over at Pretty Handy Girl with all the […]
In reply to Beth .
Beth, it definitely depends on the size of your nails. But, you can always swap out the nails for longer ones if needed.
This is such a wonderful idea. I just priced out a very simple small frame (9 X 15), using what I used to think of as the inexpensive metal frame sections. It came out to $35-40.
Question: I would like to add a mat beneath the glass. Would there be room for that? From the photo, it appears that your “staple nails” would be long enough to accommodate one standard mat board. Do you foresee any problems with this modification?
Thank you so much for sharing your inspiring and cost-savings post.
What wood species is that plywood?
How do you do the silhouette? Was this just tracing or did you convert an actual picture?
[…] diy plywood frames with glass are […]
What a great solution! I have a few things I wanted to hang on our walls, but the sizing was a little off for a standard frame. I didn’t want to pay for custom frames, so this would be perfect!
I have tried it with plastic frames and it worked .. thanks for sharing these ideas.. keep writing more..