

Today I have a unique photo holder that you can create using forks from Goodwill…

…and an angel decor item that I bought on clearance. Good thing too, because I didn’t own the angel for more than 20 minutes when I dropped it in our driveway and it broke. Booo, hooo.

But, being creative and resourceful, I decided to keep the stand and refashion it as a photo holder. You can use scrap wood and a dowel rod for your base unless you happen to have a broken angel too.
Materials:
- Multi-Purpose Utility Wire 16 Gauge
- Needle-nosed plyers (and wire cutters if your plyers don’t have a wire cutter on it.)
- Assorted beads (make sure the hole is large enough for your wire to fit through)
- Assorted forks
- 2 large beads for the base and top of the pole (optional)
- E-6000 glue
- Paint
- Primer
- Paintbrush
Instructions:
Gently sand your stand to give it some “tooth” for the paint to adhere to. Add a coating of primer to the stand.

Paint your base the color of your choice.

For the final touch, you can bring out the details by using Valspar Asphaltum glaze. A tutorial for using glazes is HERE .

If you don’t have a broken angel decor item lying around, (and who does?) You could use a wooden stand and drill a hole through it like I did HERE .
Now comes the FUN part! Start by adding a bead or two to your wire. Using the needle-nosed pliers, curve the end of the wire so your beads won’t fall off.

Lay one fork on top of the wire, and bend it around your fork.

Keep spiraling the wire down your fork until it is securely held in place.

Add a bead or two here and there to give your fork some more “bling”.

End the wire on the back side of your fork. Bend the wire straight down. Cut off any excess wire, but leave plenty of excess to wrap around the pole on your base.

Repeat until you have 5-6 forks.

Thread the excess wires through one of large beads.

Put the other large bead on the pole of your stand (or over a dowel rod secured to a base) and let it rest against the base.

Spread and arrange your forks.

Slide the bead and forks onto your pole.

Add a small dollop of E-6000 glue into the top of the bead (where the yellow arrow is pointing to) to help hold the wires in place.

Twist the wires one at a time around the pole. Add a few glass beads onto the wire and continue wrapping it around the pole, maypole style.

When you reach the bottom, clip the excess wire and use needle-nosed pliers to curl the ends.

Continue wrapping one wire at a time. Alternate the direction of the wires spiraled down the pole. End some wires higher up on the pole for variety.
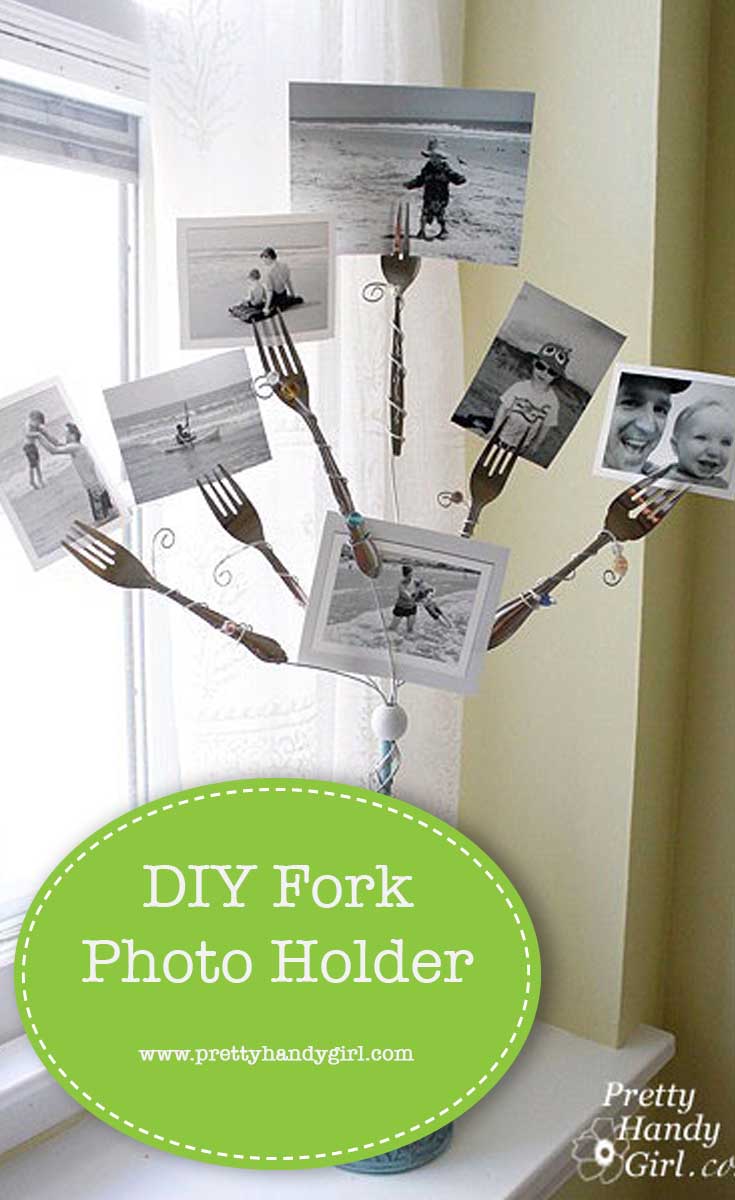
Grab some of your treasured photos and put them in the fork tines!


This Fork Photo Holderis a fun and creative way to show off your vacation photos.
You could also use it for a family tree display.
![]()
Pin for later!
This is such a great idea Brittany! It doesn’t take up any space at all. I just need to find some old forks now. Thanks for this tutorial.
Great Brittany! Thanks!
kisses ML
What a great fun way to display photos. On the look out for old forks now.