
Robin over at TheTshirtDiaries is a gal after my own heart.

She has thrown down a challenge to anyone willing to close up their pocketbooks this month (well, at least for spending on arts and crafts and DIY projects), and use what you have in your home, workshop, craft room or wherever you create. The challenge is called Stashbusting September and you can read more about it here .
She also has a link party called Upcycled Awesome every Wednesday. I hope you hop over to check out some of the fantastic ideas she and other bloggers have shared.
I am always up for a challenge, so I jumped in with both feet ready to complete some projects and do it without spending a dime!
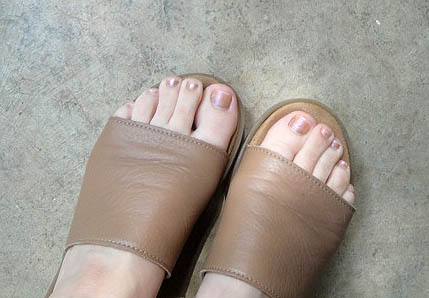
ummm toe-less!
So, what about you? Up to the challenge? I hope you step up to the plate and try your hand at re-using and making-do with what you have on hand! Altogether now: Hey ho, let’s go!
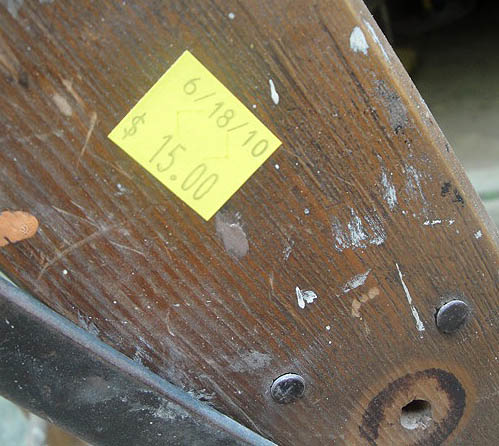
Here is one of the projects that has been sitting around waiting to be given a new life. An old ladder that I picked up from The Habitat for Humanity ReStore ( visit this post for more details ).

$15 dollars was a little more than I wanted to pay, but Habitat for Humanity is one of my favorite charities, so I don’t mind spending a little more when the money goes to people who need housing.
I actually made this ladder into two separate items. I’ll show you the results of the other half when I finish that project.
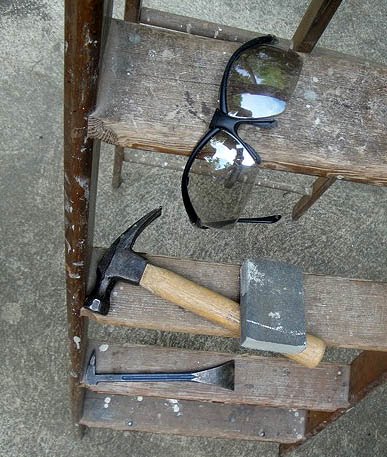
Tools Needed:
- Safety Goggles (Definitely wear your safety goggles when using a pry bar!)
- Hammer
- Sand paper or sanding block
- Pry Bar
- Drill
- Screws
- Piece of L-shaped moulding
I used the chisel end on my pry bar to loosen the rivets. Some of those rivets were hanging in there and weren’t ready to come out yet. But, I showed them who’s boss. That would be me, the woman in a skirt and toe-less sandals!

Then used the claw end of a hammer to to remove it the rest of the way.

After removing the brace and top rivets, the ladder’s front and back were free from each other forever. I wiped the whole ladder down with a damp cloth and then lightly sanded it to remove any splinters.
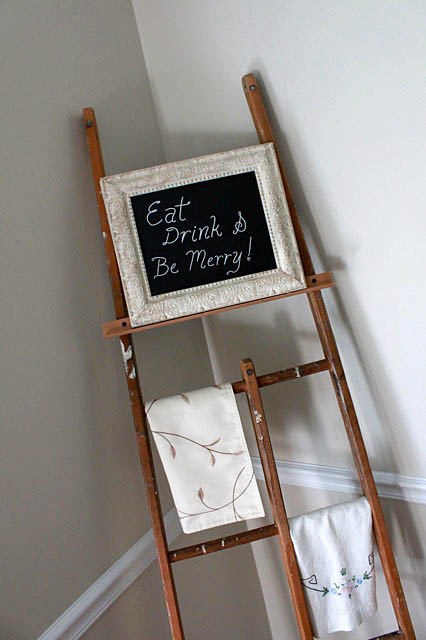
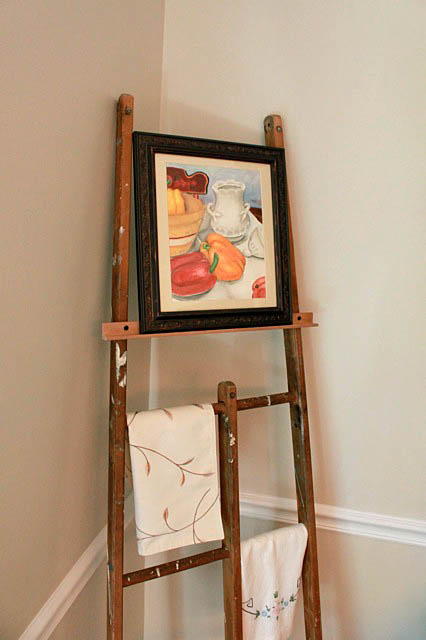
I played around with the back of the ladder in our dining room…
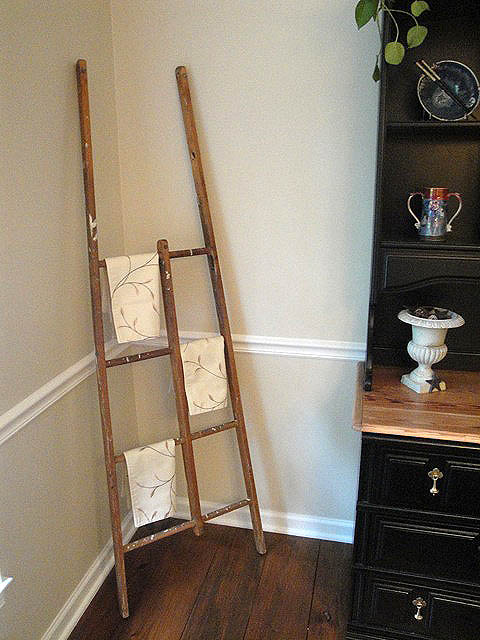
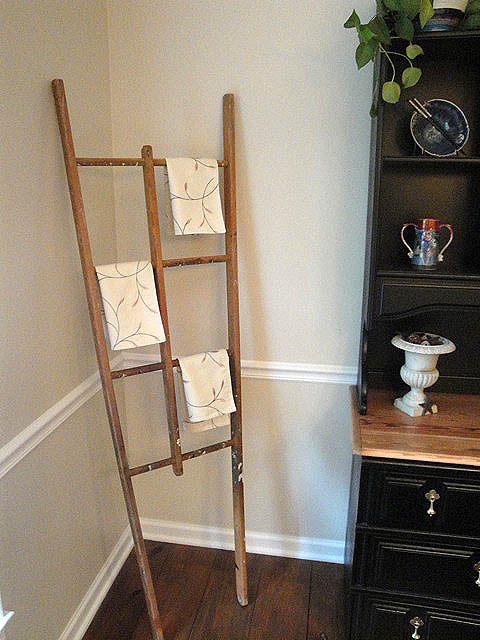
…but ultimately decided I wanted to use it as an easel.
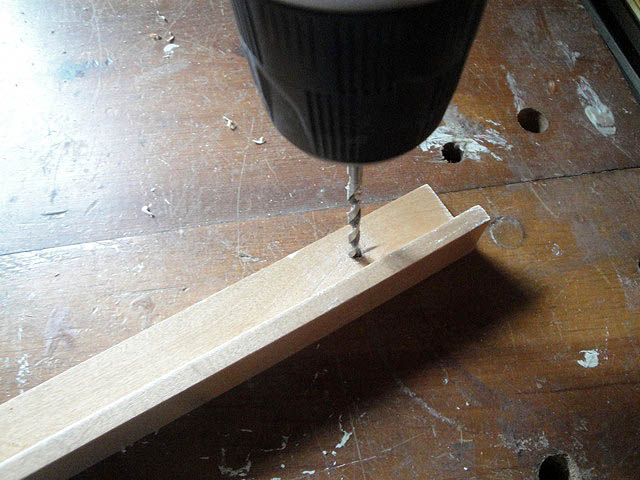
I have a decent scrap pile with leftover boards and trim pieces. A little scrap of L shaped moulding was exactly what I needed.

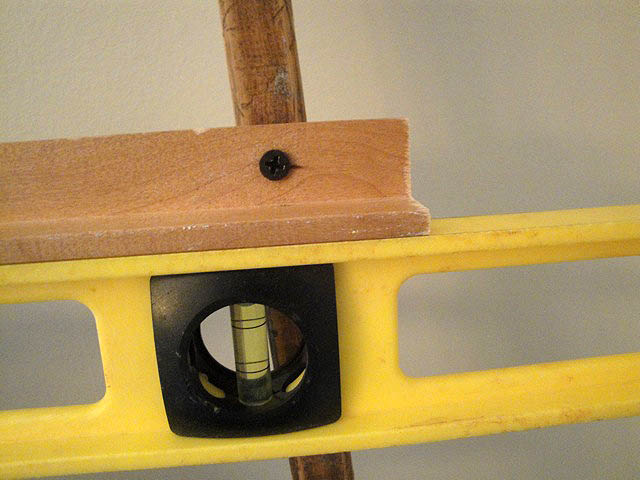
I measured how high I wanted the moulding to be and then marked where my screws would go.


I hope this has inspired you to do some Stashbusting this month. Check out what some other Stashbusting bloggers are doing this month: HERE!
[…] you see that ladder above? Yes, it is the other half of this ladder! It underwent a little transformation. You’ll want to see it […]
[…] you see that ladder above? Yes, it is the other half of this ladder! It underwent a little transformation. You’ll want to see it now! 62 Comments – Leave […]
Just what I needed to see! I have been holding on to the back of a ladder too. I needed a magazine rack for my salon but the easel idea totally made sense! Thank you so much for the tutorial.
hi brittany,
i found you via roadkill rescue and love your blog…you are a pretty handy girl!
this ladder transformation had me smiling as i just did the same thing with an old rickety ladder that we had hanging around. i wanted a ladder to hang on our bedroom wall for quilts and came up with the idea of separating the two parts of the ladder. i used the back side for the wall and will keep the idea of shelves for the other side, like you did.
i am off to see more of your handy work and inspirations!
judi
I love what you did with the old ladder! I just picked out one myself from the neighbors trash, I’m thinking of either doing this or having it as a shelf. Thanks for the idea!
I've been looking for a old ladder to give as a gift to my sister for a couple months now (no luck yet) but I love the twist you've added to it!
I posted about your creation – thanks for sharing!
http://slidingdownthestairs.blogspot.com/2010/10/sunday-inspiration-creative-photo.html
Like what you did with the ladder-would have never thought of that!
I love how you are rocking the ladder!
Thank you for linking up to Upcycled Awesome number 14 and thank you for the fabulous shout out!
What a fun idea, I could use something like that in my home 🙂
What a great idea! Looks very nice and I like your pretty hutch!..Christine