
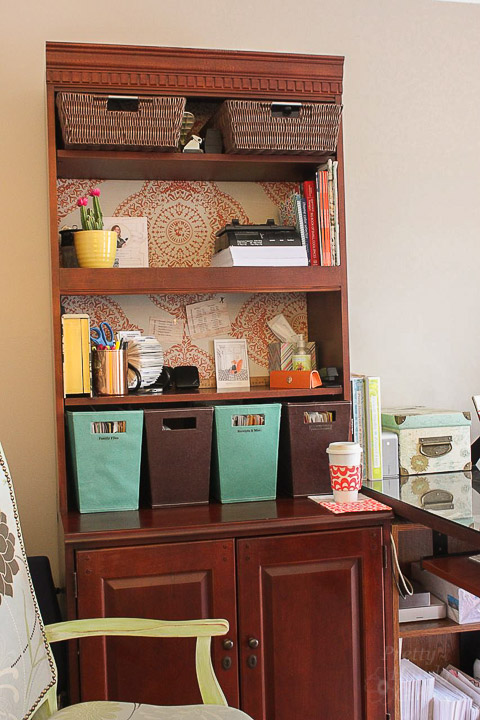
It’s a new year and I want to give a few rooms in our house a fresh new look. Our office was one of the first spaces I completed when I started this blog (has it really been 5 1/2 years!)
I’m tired of staring at the same room day after day. I know many of you feel the same way. You have that itch, or a burning desire to hop in the car and drive to your nearest Home Goods, World Market or The Container Store to buy cute colorful decor or storage bins. I almost caved into that desire because I was tired of looking at the two tone boxes I bought 6 years ago. But, that would mean discarding the old ones. You know how I feel about throwing things away ! If I can upcycle it, I’m going to!
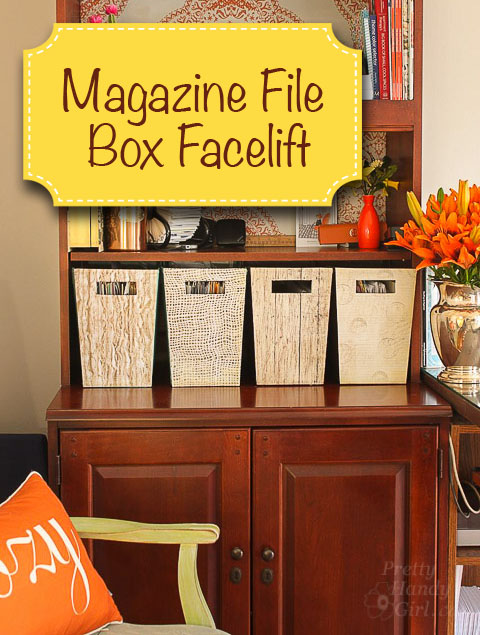
Within 10 minutes you could give a Magazine File Box a Facelift(or a storage box)! I saved a lot of money reusing the old. Factor in the gas money I saved by not driving to the store. And the time I saved by not leaving the house. I think I deserve a big fat high five! Put ‘er there fellow savers!
Here’s How to Give Your Magazine File Box a Facelift:
Materials:
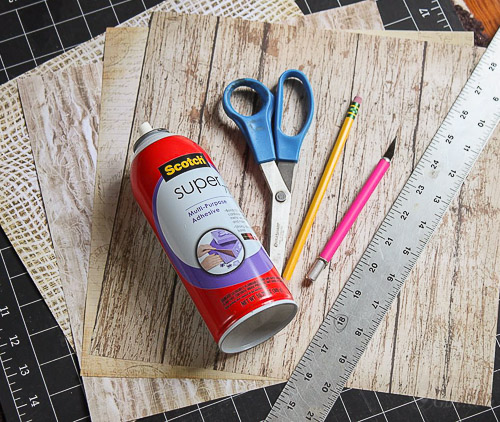
- Scrapbook paper
- Pencil
- Metal ruler
- Cutting Mat
- X-acto knife
- Scissors
- Spray Mount
Instructions:
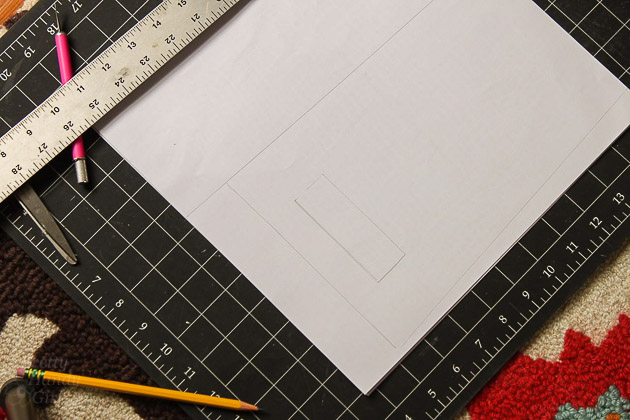
Remove the contents of your file box. Lay the box onto the back side of your scrapbook paper.
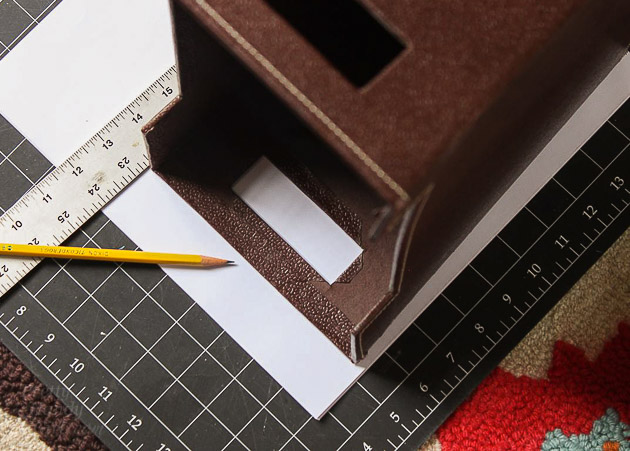
Draw a pencil line around the outside and the handle.
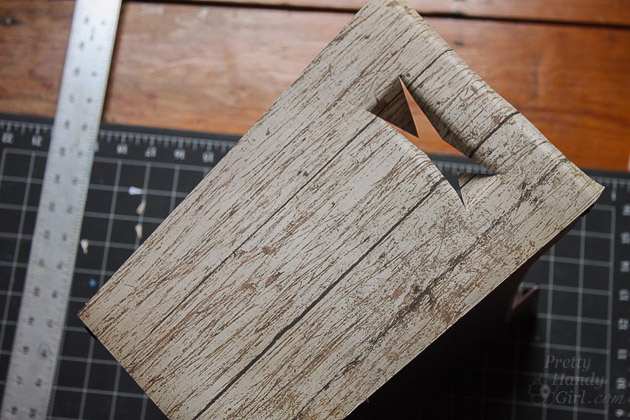
Use the x-acto knife to cut an “X” where the handle is.

Test fit the scrapbook paper onto the file box and cut any excess paper.
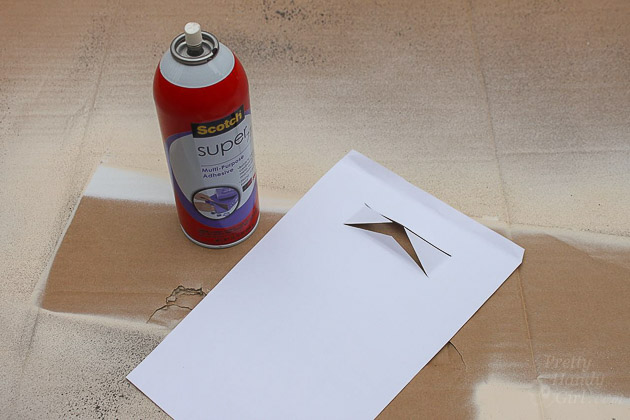
Spray a good coating of spray adhesive onto the back of the scrapbook paper.
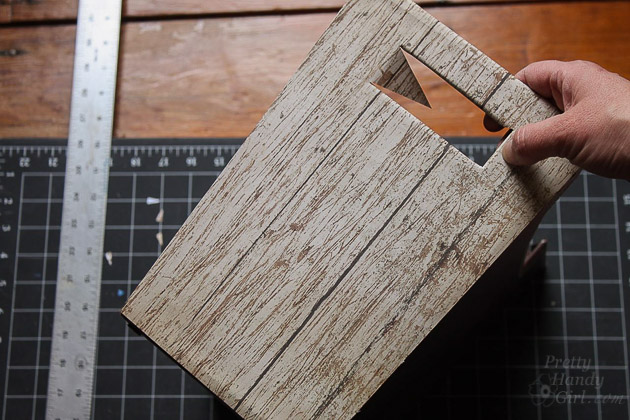
Center it onto the box and press the paper firmly in place. Fold the “X” flaps inside the box and press against the inside of the box.
Repeat for the other boxes you want to cover.

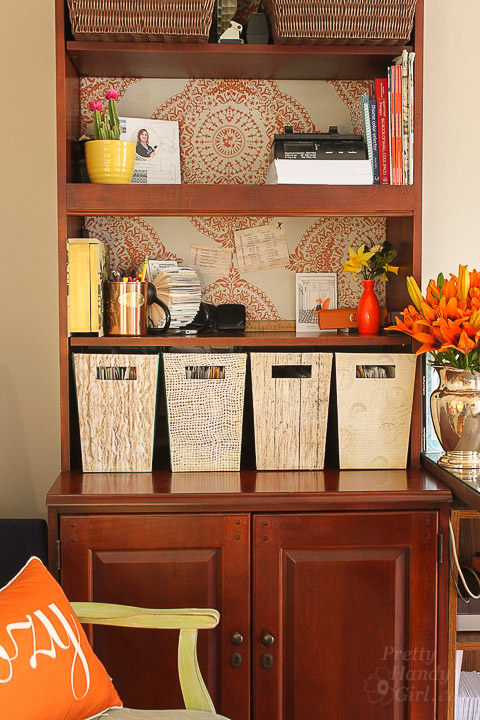
You can still see the old color on the sides, but 99.99% of the time they are stored on the shelves and most people won’t see the sides.

I also gave the back of the bookcase a facelift with new fabric inserts. You can read how to add fabric backing to your shelves here .
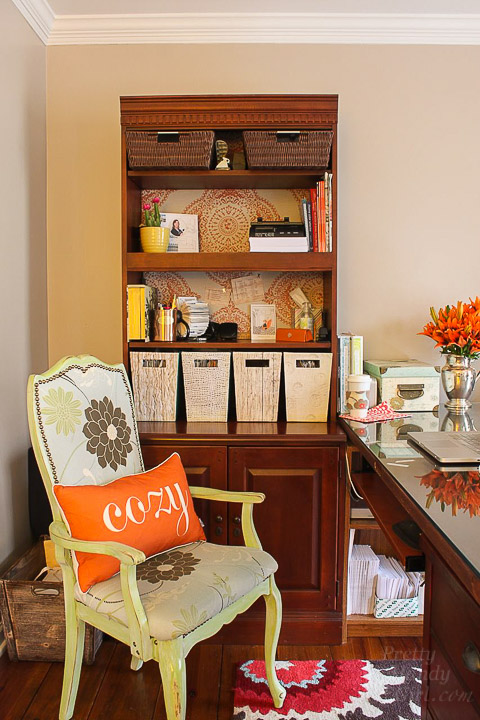
I glued the scrapbook paper onto the magazine file boxes last year and the paper is still holding up fairly well. A few dog ears are appearing, but if I want a more permanent solution I can use mod podge to coat the outside. My desk is an entirely different story, it was this clean for a day. Now you’d be hard pressed to find the glass surface. It’s littered with papers now. That’s life in the Handy House!
I still have a yearning to makeover this space eventually. You can see some of my ideas in my Home Office Pinterest board .
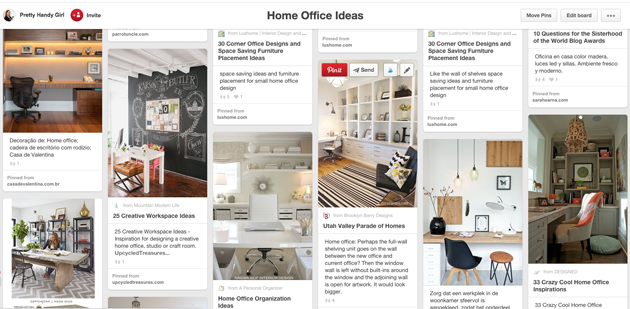
What do you think? A window and wall-to-wall shelves over the desks?
Do you have any file or magazine boxes you could give a quick facelift to?
![]()
Pin for later!

These are really pretty neat!
They look pretty easy to re make also.
Thanks for sharing this marvelous idea.
Hugs
In reply to Donna Gray .
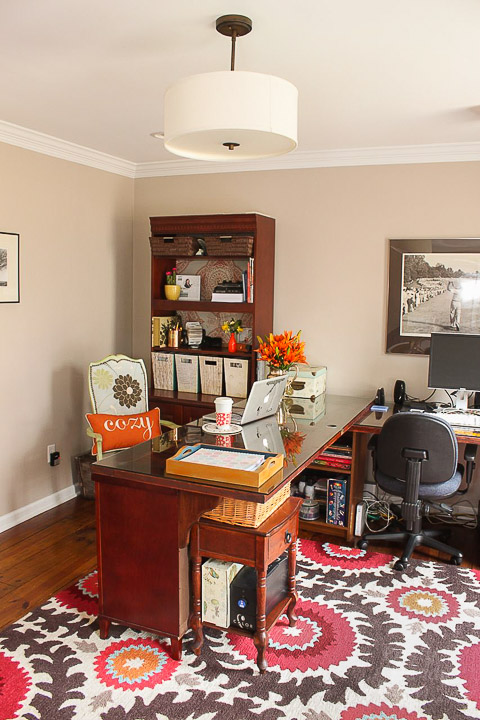
RugsUsa.com It’s the Surya rug and has an off white base with red, brown and orange accents.
Brittany, where did you get your area rug. I am redoing my office and those colors are similar to what I am using. What are the actual colors ? Thank you for the great tips! And I love your office
In reply to Brittany Bailey .
Thank you! I think I see foam board and fabric in my future!
In reply to Peg .
Thanks Peg. The backs of the bookcases are actually foam board with fabric on them. You can see that tutorial here: https://prettyhandygirl.com/fabric-backed-open-kitchen-cabinets-diy-on-a-dime-the-tutorial/
Hi Brittany! Love your make over of the magazine boxes. That idea will work on the cardboard ones I have to make them all more cohesive in the grand scheme of decor in our home. The second item I noticed is the back of your bookshelf. Is that wallpaper or did you paint and stencil it? We have Ikea Billy bookcases going around a wall and a half in our family room (yes, we have a good problem in my house), and papering or stencil the backs would be a great way to give all that WHITE space some character and make it more interesting. Thanks for sharing.
In reply to Leilani .
I bet you could use new fabric and really make those boxes shine.
In reply to Bettye@bunnyhillcottage.com .
What a great idea Bettye, I’d love to see it. Have fun with your office re-do.
I am working on an office re-do also. It’s taken awhile to figure out what color scheme I want in the room. I am going with a teal and yellow, kind of modern, look. It is slowly taking shape. I just recovered an index card storage box with decorative paper. Little things really do add up and make a difference.
So sleek and chic! Why don’t I have magazine boxes yet? Lord knows I need them. I have some collapsible cloth boxes that need an overhaul first.