
Hi, guys! Anika here again from Anika’s DIY Life. I have a scrap wood problem—if you do any amount of woodworking, I am sure you can relate. I hate throwing away even the smallest of pieces, but every time I build a piece of furniture my scrap pile explodes. Consequently, I used some of my scraps to create a two-tiered plant stand.
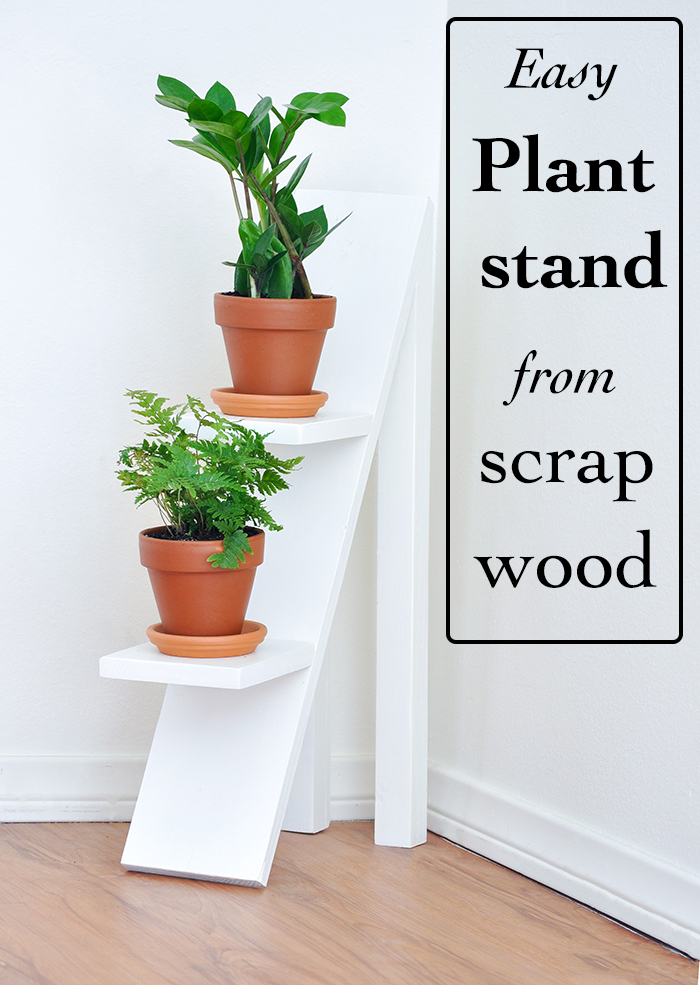
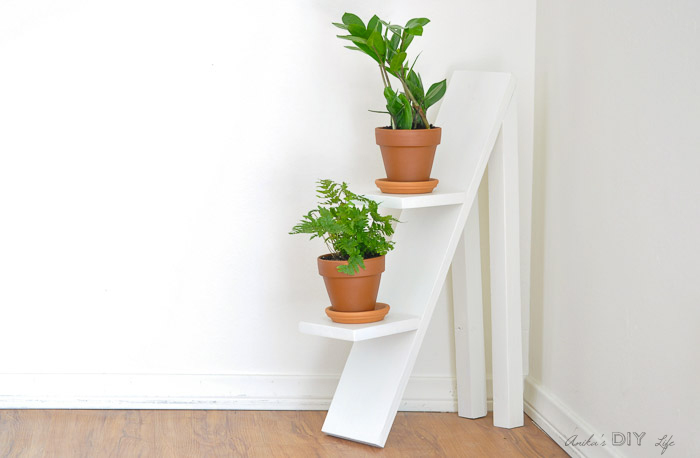
Recently, I completed my biggest build to date and my scrap wood pile has almost tripled! You can safely bet I am going to be making quite a few scrap wood projects for the next few months! But today I will show you how to make this two-tiered plant stand. It is super simple and makes a great beginner woodworking project.
Materials:
(I’ve included affiliate links for your convenience. I earn a small percentage from a purchase using these links. There is no additional cost to you. You can read more about affiliate links here .)
- 1 – 1″x 6″ board @ 27″ long (front board)
- 2 – 1″x 6″ board @ 6″ long (shelves)
- 2 – 2″ x 2″ board @ 24″ long (legs)
- Jig saw
- Miter saw
- Drill
- Kreg Jig
- Wood glue
- 1 ¼” pocket hole screws
- #8 – 1 ¼” Spax screws
- Wood filler
- Brad nailer (optional)
Instruction:
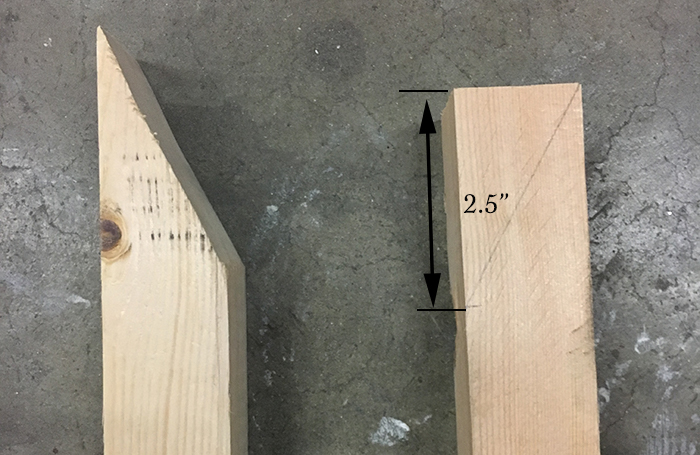
Step 1– Start by making the cuts. For the 2″ x 2″ boards, make a mark 2½” from the edge and draw a line from the opposite corner. Remove this triangle with your jigsaw.
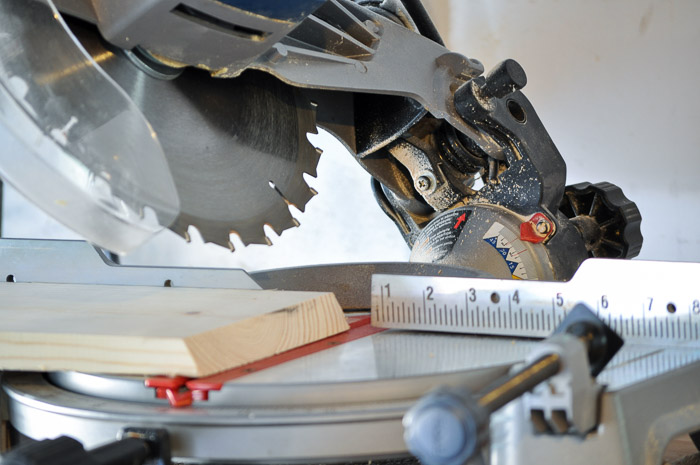
Step 2– On the 1″ x 6″ x 6″ boards, cut one end of each at a 30 degrees with your miter saw.
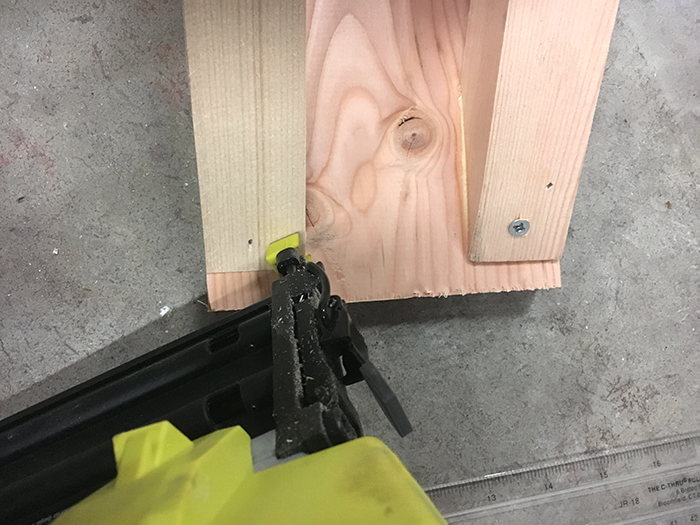
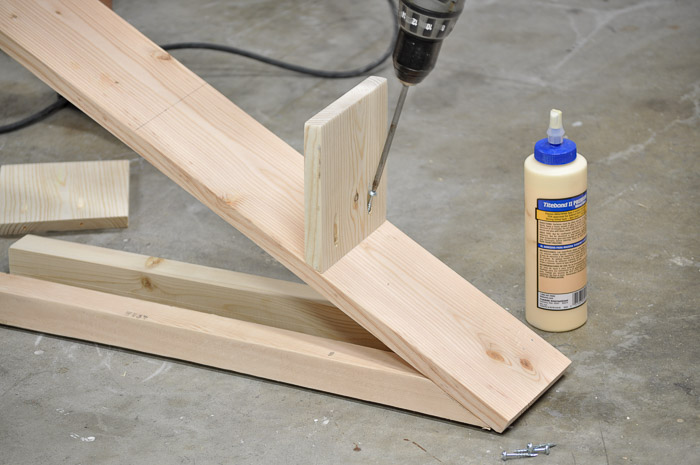
Step 3-Before attaching the legs, find a spot that is thick enough to attach a screw. Attach the angled cut end of the legs to the 1″ x 6″ x 27″ front board using wood glue and 1 ¼” Spax screws. You can hold the legs tightly in place as you attach with screws or use a finish nail first to hold it in place.
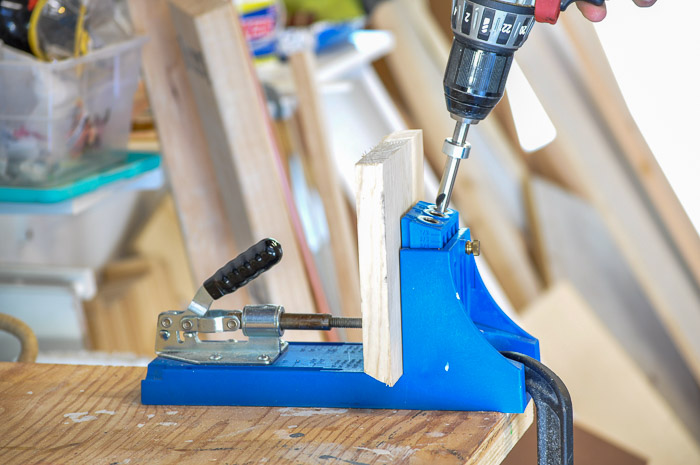
Step 4– Make two pocket holes in each 6″ shelf. The long end of the cut will be facing you as you drill the 3/4″ pocket holes.
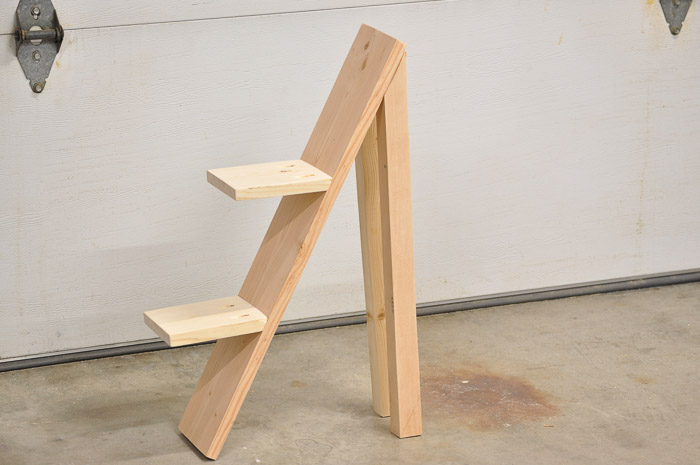
Step 5– Attach the shelves to the front board using 1 ¼” pocket hole screws. The first shelf should be 8″ from the top and the second shelf should attach 8″ from the first shelf.
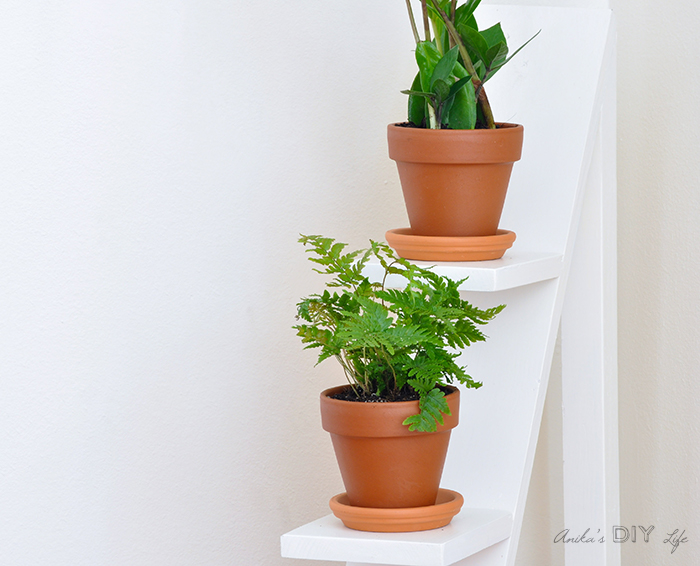
Your shelf is built!
Fill the pocket holes with wood filler, sand, and finish with paint or stain. If you paint your shelf be sure to prime first.
Here is a secret: I don’t have a very green thumb and usually manage to kill all plants (even succulents) in the past! I do have a pothos plant that has survived for 10 years. This year I decided to work on my thumb green when I got an orchid plant as a gift. I thought I had killed it, but it is slowly coming back to life with a bit of care. I think I am ready for more plants, so I got these baby plants . . .
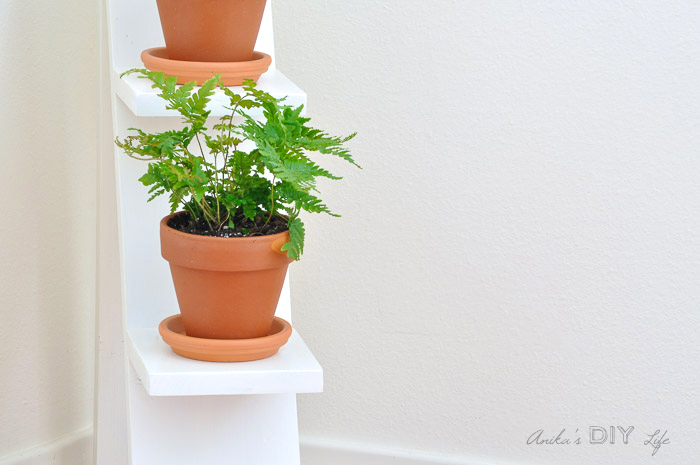
. . . I will keep you updated on their progress in the future!
That’s how to build a two-tiered plant stand from scrap wood. It barely put a dent in my scrap pile, but I have to come up with quite a few more projects to really get it under control. If you have a scrap wood problem too, you’ll appreciate that I have a whole bunch of projects using scrap wood . I even built a scrap wood organizer using scrap wood! Follow along on my blog so you don’t miss them!
Until next time!

Love your DIY project. I just purchased a miter saw. Looking for some projects to get my feet wet. Something I noticed on the stand. The top and bottom are not mitered. What miter cut would I use to make them even with the floor and top? Thank you!
Wow! what a great idea you have just given to me. recently we re-furnished our home with wood. now, there are a lot of wood piles in our home. with your amazing idea, we can use this scrap wood. I think it will also add some special kind of look in our room.
Thank you for sharing this idea.
[…] Two-Tiered Plant Stand using Scrap Wood – Pretty Handy Girl […]
In reply to Barbra Paschall .
Thanks Barbra!
In reply to Lorna .
Thanks Lorna. You can also cut the angles on a miter box.
In reply to loas .
Hi Loas, The tool is called a Kreg Jig. It is linked in the post. It is a really great tool to make joints.
I liked the decision to make pocket hole on step 4. What is the name of the tool?
Nice DIY! I have to see how can I get the angle cut!
Great easy build. Thank you so much for sharing!