

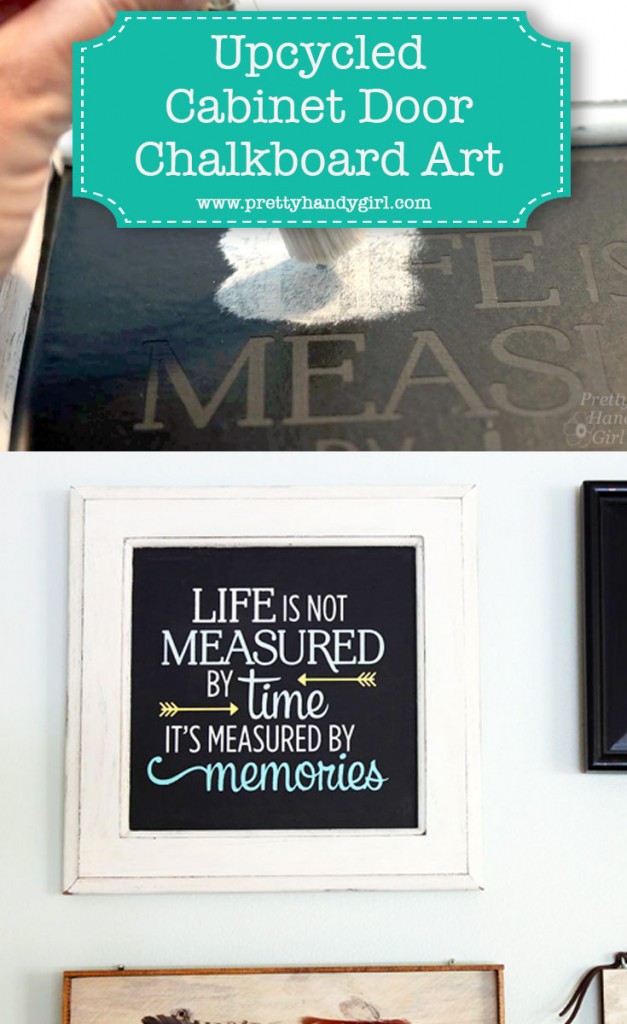
What do you do with an old cabinet door? Besides keep it with your wood scraps for ten years like I did (not recommended.) You can create pre-framed art! Today I have an easy Upcycled Cabinet Door Chalkboard Artproject for you. If you have an old cabinet door, some paint, and a stencil, you can have yourself a unique and personalized art piece for your wall! Easy art!
Materials:
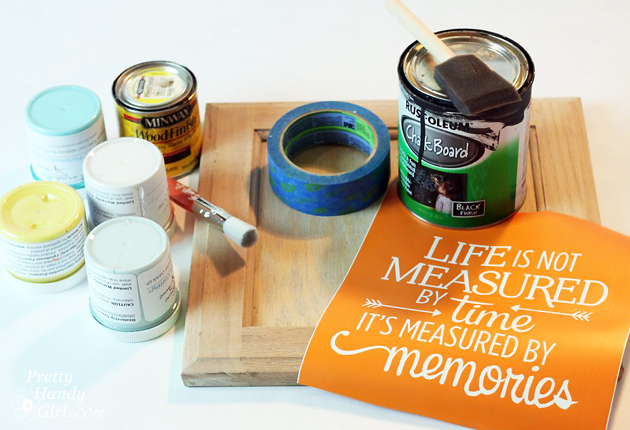
- Cabinet door
- Chalkboard paint
- Foam brush
- Sandpaper
- Antiquing wax
- Wax brush
- Clean rag
- Craft paint or chalky paint
- Stencil brush
- Painter’s Tape
- Pencil
- Stencil or cut vinyl
Optional:Stain and foam brush
Instructions:
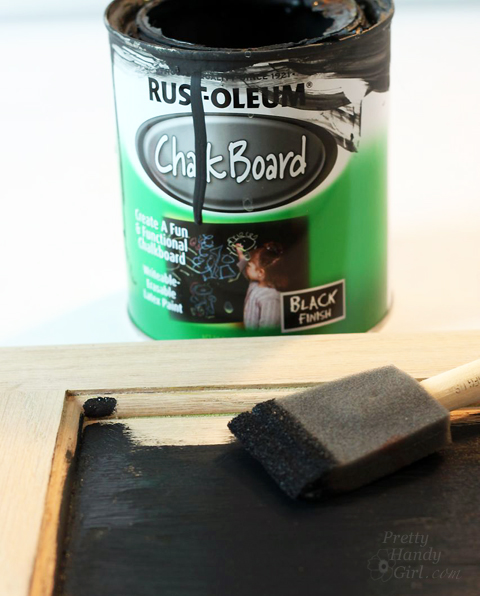
Paint the inside panel of your cabinet door with chalkboard paint. After the paint has dried, lightly sand any imperfections. Apply a second coat, brushing the paint in the opposite direction as the first coat.
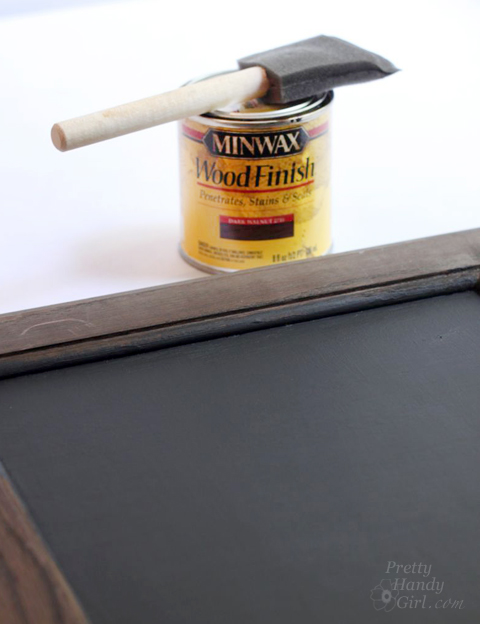
If you have an unstained cabinet door, you may want to stain it for an aged look.
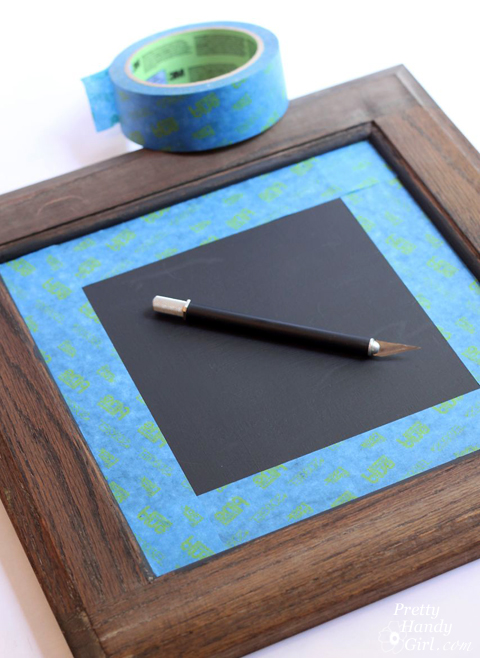
Apply painter’s tape to the inside face of the cabinet door.
Paint the frame portion of the cabinet door. Allow to dry and apply a second coat of paint.

Allow to dry and lightly sand the edges.

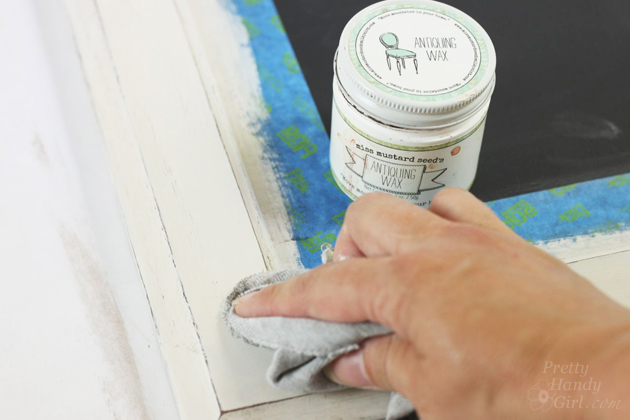
For more depth and age, apply antiquing wax and buff off with a dry clean rag.
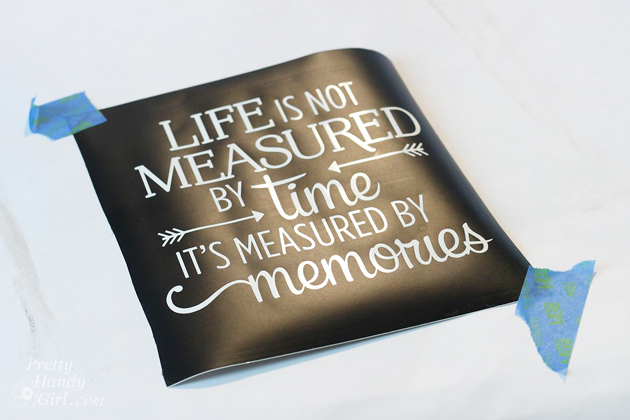
Grab your stencil (or cut vinyl). (I used a quote from the Silhouette graphic downloads.) Weed out the letters.
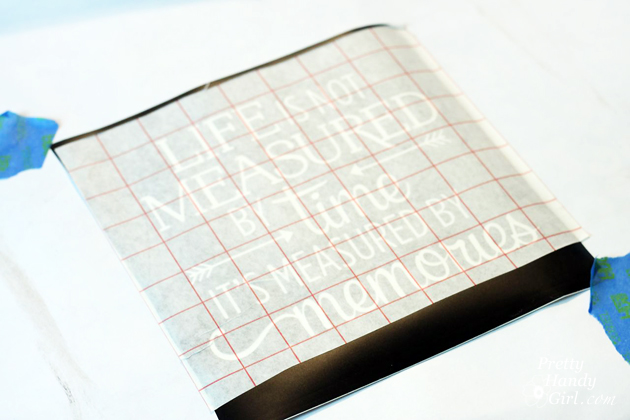
Apply transfer paper on top of the vinyl.
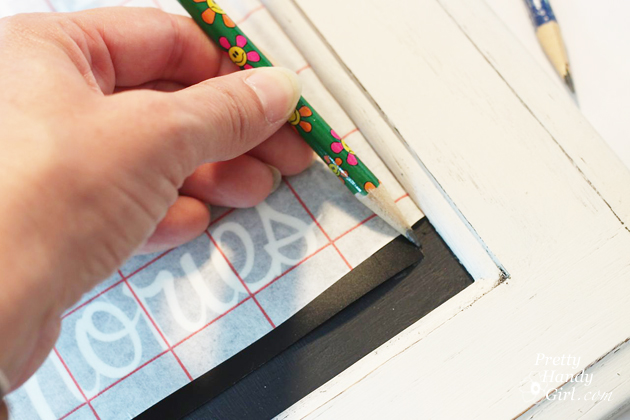
Center your vinyl on the cabinet door and mark the corners of the vinyl with pencil.
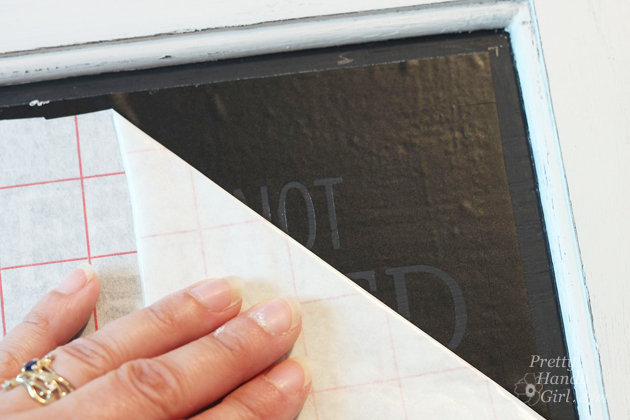
Remove the vinyl backing and press the vinyl (transfer paper side up) onto the cabinet.
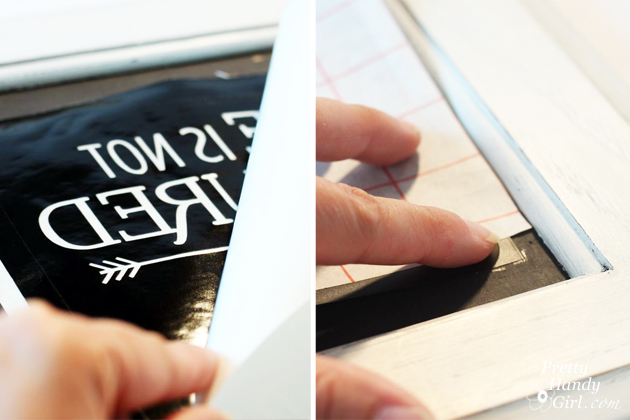
Burnish the vinyl onto the cabinet and remove the transfer paper.
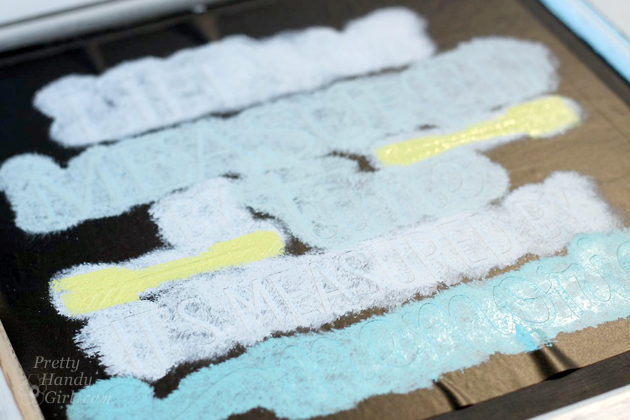
Use the stencil brush to pounce paint over the lettering.

Change paint colors for more interest.
Allow the paint to dry and gently remove the vinyl.
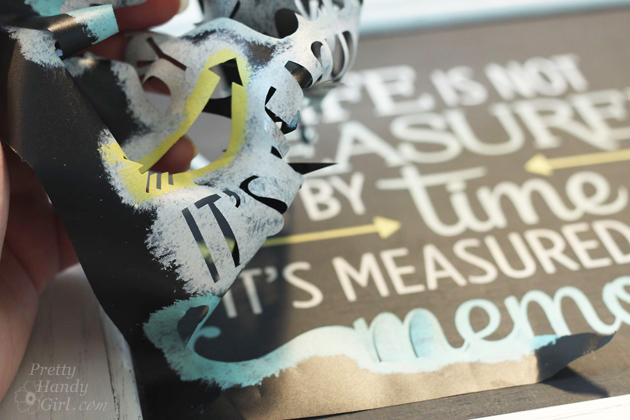
Erase the pencil marks.

Hang your new Upcycled Cabinet Chalkboard Arton the wall! Enjoy.
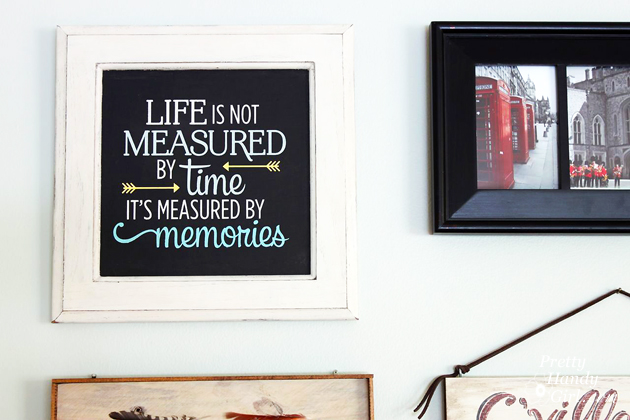
You can see the rest of my gallery wall here . And learn tips to create your own perfect gallery wall.
![]()
Pin for later!
In reply to Brittany Bailey .
No apology necessary. Thank you so much for the extra help 😉
I’ve just started using my Silhouette and haven’t gotten to vinyl yet. Now I get it! I love this project and just the cabinet door for it.
In reply to Brittany Bailey .
Oh, that makes sense. Thank you, Brittany. And the other Creative Block project you did is great! My mom has something similar and she loves it.
In reply to Eileen .
Eileen, I apologize that the tutorial isn’t very clear. My fault. The backing paper comes attached to the vinyl (think of it like a sticker back) and the transfer paper ( http://amzn.to/1S7DK4S ). See if this tutorial explains it better: https://prettyhandygirl.com/make-a-rustic-farm-crate-sign/
In reply to Brittany Bailey .
Thanks for answering, Brittany, but boy, I must be dense. There’s vinyl with backing paper and then a different transfer paper?Can you name the 2 product brands or provide URLs? Sorry to be such a pain.
In reply to Ricky Core .
Ricky, no I used a Silhouette vinyl cutting machine. But, you can cut out your design with an x-acto knife, like I did here: https://prettyhandygirl.com/creative-block-a-mothers-day-gift-idea-using-scotchblue-painters-tape/
In reply to Eileen .
Eileen, yes, the backing is sold on the vinyl (since it is sticky on one side.) But, you have to lay transfer paper on top of the vinyl (the non-sticky side) in order to lift it up and transfer it to your surface. You can’t just peel up the vinyl alone or it will pull out of shape.
I love this, but I don’t understand the section about the transfer paper. Is it the backing on the vinyl or a different product?
Such an awesome idea, easy & quick too. Looks better than anything you can buy in a store. Great tutorial
I actually have a chalkboard that I’ve been wondering what to do with. Well, now I’ve decided! Thanks for the idea. Quick question, did you just use a utility knife to cut out the letters? Or what did you use?